How It Works... After You Order
"Pouring a Ceramic Mold"
|
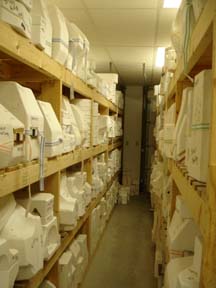
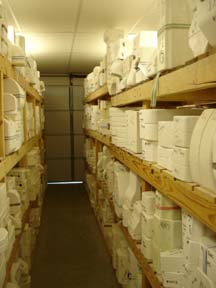
After you order your pieces, the mold or molds are pulled from their shelves They
all have their own individual numbers. We have close to 3,000 molds!
|
|
|
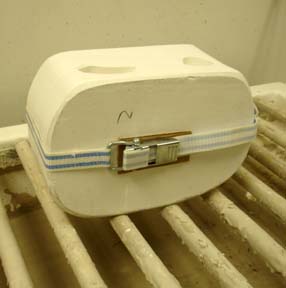
They are then placed on a table, where they are unstrapped and checked for cleanliness
before pouring. We use an air compressor to blow away the dust, old dried slip,
and other imperfections that might detract from the perfection of a great piece
of bisque.
|
|
The mold is then bound with large rubber bands or straps with a piece of cut cardboard
under the metal piece to help keep the metal from digging into the mold.
|
|
We want our molds to last! They are one of the biggest parts of our business!
|
|
|
|
|
|
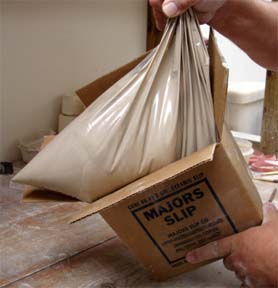
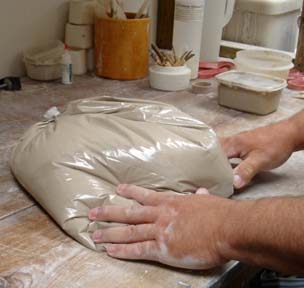
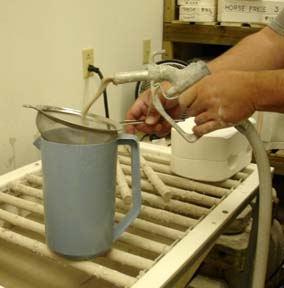
We get our liquid clay called "slip" in 2 gallon boxes. The bag of slip is put onto
a table and "swished" around a bit. The bag is then cut and poured into our pouring
table. It's messy work!
|
|
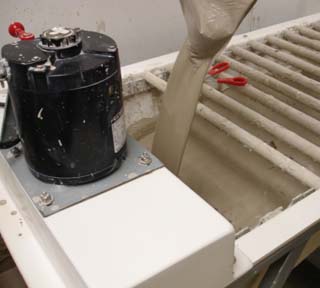
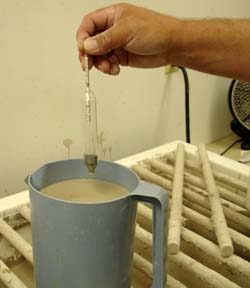
The slip is checked EACH day before pouring to make sure the consistency is accurate.
These instruments help find out there is too much or too little water in the mixture.
|
|
Making sure this is all just right makes a PERFECT piece!
If everything checks out, it's time to POUR!
|
|
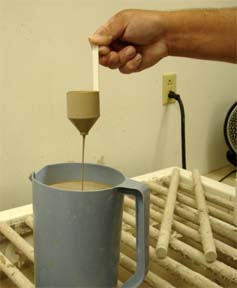
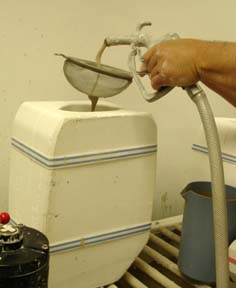
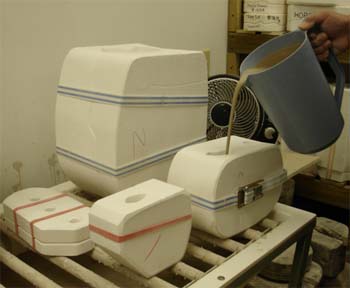
The slip is poured through a strainer to ensure that there are no air bubbles or
foreign particles in the fresh slip.
|
|
Using a pitcher makes pouring small molds easier. For larger molds, the slip is
poured through the strainer directly into the mold.
|
|
|
The water in the slip is pulled into the sides of the mold, making the clay stick
to the sides. This procedure can take anywhere from 15 to 45 minutes per mold.
|
|
Every mold is different! We take care to watch each mold carefully to make sure
the clay is not too thick or too thin.
|
|
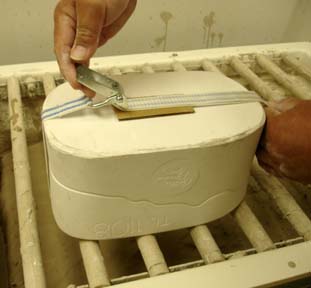
Each mold is emptied when the thickness is right and set aside to dry to the consistency
of leather. Again, each mold is different and might take between20 minutes to overnight
to reach the desired consistency.
|
|
The picture to the right shows the thickness to which each mold is poured.
|
|

|
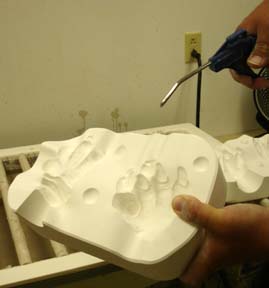
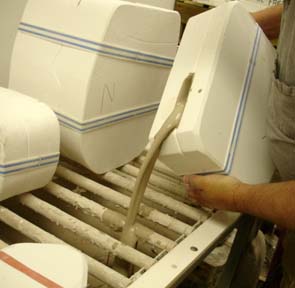
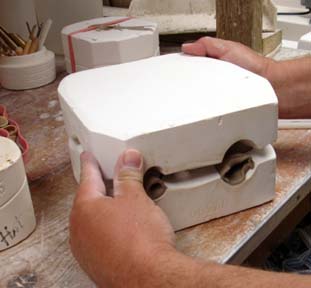
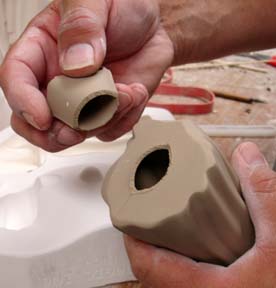
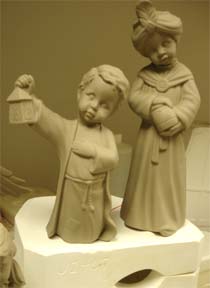
When we get that "Leather" feeling, we carefully pull the mold apart.
As you can see, there are parts to put together!
Molds with attachments take a little more work before they are left to dry.
|
|
The first thing we do after the piece is released from the mold is remove the pouring
stem.
|
|
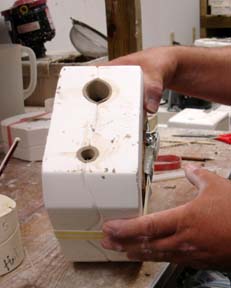
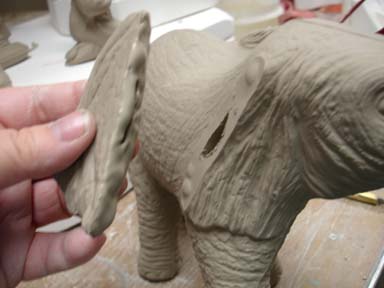
Then we make a hole in each piece that will be attached. If there is no hole, air
is trapped in the piece can not breathe in the kiln while firing.
|
|
|
If this happens, it could blow up and hurt EVERY piece in the kiln!
|
|
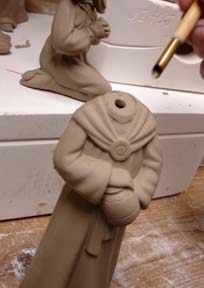
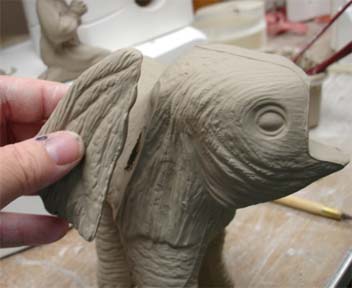
The VERY soft "greenware" piece has a thicker slip applied to one side of the attachment.
There is a special "glue" that is added to the regular slip to make these attachments
secure.
|

|
|
We keep a separate container holding our attachment glue. You can see it in the
picture to the left.
|
|
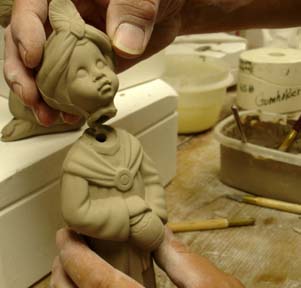
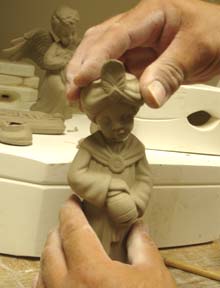
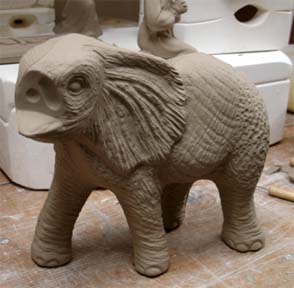
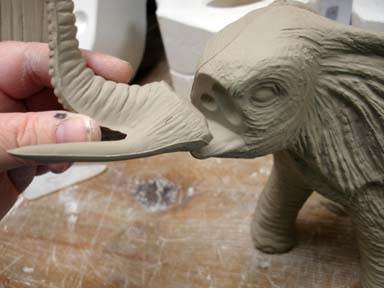
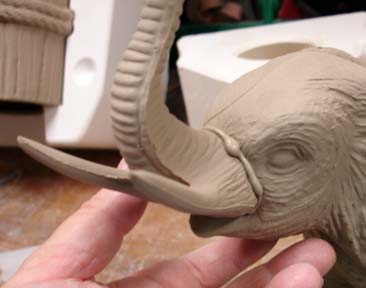
These pieces are all put together now. They are still very wet and can be easily
damaged if not handled properly.
|
|
|
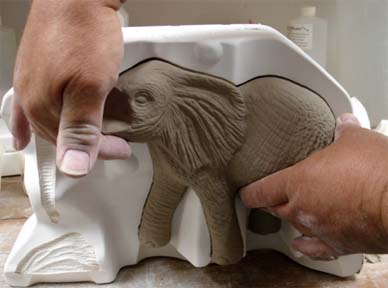
Below is the procedure completed on a new elephant that we have in stock.
|
|
|
|
|
|
|
|
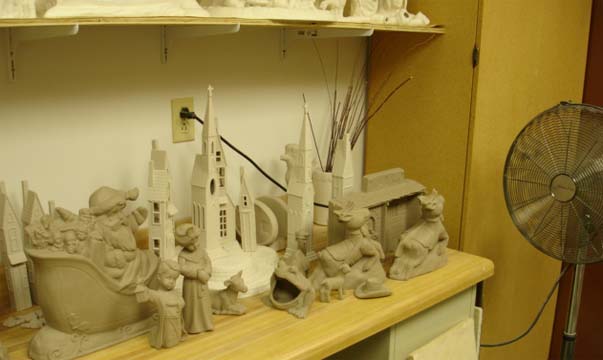
This is the drying process. Simply put on a table with a fan and left to dry thoroughly.
The houses in the back are dry while the recently poured pieces are the darker ones
in the front.
Drying can take up to three days for the larger pieces.
|
The Next Step is the
Cleaning Process